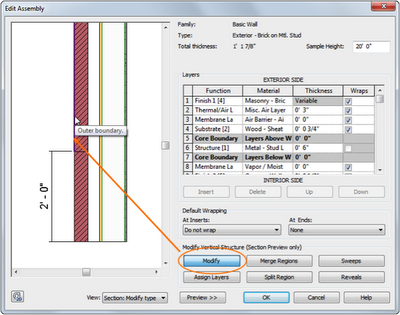
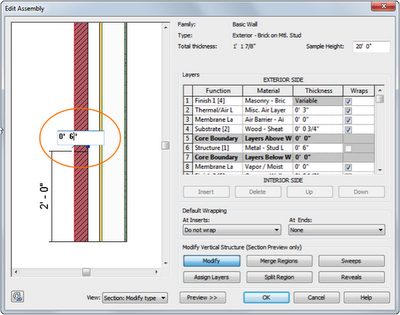
Did you know that you can change the width of regions after they have been split? To do so, press the Modify button in the Edit Assembly (Hint: Make sure the button appears depressed). Next pick the left edge of the region you would like to modify. A temporary dimension will display allowing you to modify the width of the split region. This still applies to both regions created from the original layer, but gives you the ability to adjust the width of a region you have split.


 Ron Palma, Ideate AEC Solutions Application Specialist
Ron has 23+ years of experience in the AEC industry as a designer, lead project designer, trainer and CAD manager. His instructional background includes Autodesk Certified Instructor, trainer, support technician, educator at Portland Community College and Clackamas Community College, and a U.S. Army certified instructor. Follow Ron @RonPalmaAEC.
