It’s no secret that one of my favorite keyboard keys in Revit is the TAB key. If you have been through my trainings I typically refer to TAB as my best friend. I have found that when you are new to Revit you may struggle with selecting elements. You may accidently select more elements than you need and you might even need help selecting between a few elements because they are overlapping each other.
If you have ever had this problem, then the TAB key might just become your new best friend as well. The TAB key actually has several different function in Revit and I’m going to cover a few of those for you today.
Some of the main functions are:
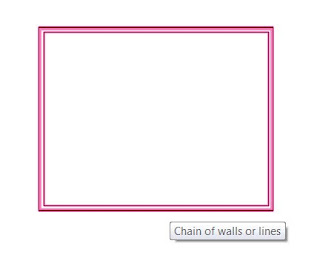
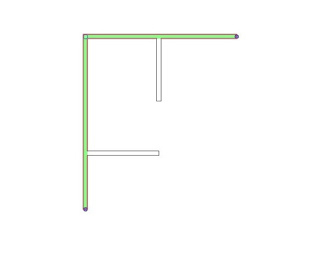
• Select a chain of walls or lines
• Cycle between overlapping or nearby objects
• Cycle through alternate points to dimension to
• Cycle through alternate running object snaps
Selecting a Chain
1. Hover over the element, it will turn your “preselection” color (If you did not know, you can change this in the Application Menu>Options>Graphics)
2. Once the objects (walls or lines) are highlighted you can left mouse click to select.
*A tooltip will help you know which items you have selected
Revit will ignore intersecting walls or lines. If multiple walls are joined at the same point, the chain continues along the wall that makes the smallest angle with the one currently highlighted.
The chain works whether you are selecting objects or selecting lines in sketch mode.
Cycling Between Objects
One of the other uses for the TAB is to cycle between objects that are overlapping or share an edge.
In the image below I am looking at a curtain wall and hitting TAB, cycling between selecting the overall curtain wall, the curtain grid, and the curtain panel.
Cycling Through Points
TAB also lets you cycle between dimensioning walls to wall faces and centers, and faces and center of wall core boundaries, even though you have set a preference in the options bar.
TAB will cycle through your snaps in Revit – Reverse TAB allows you to reverse the order.
Additional TAB Features:
• TAB will allow you to create interior elevations in other directions than what you are closest to.
• TAB will allow you to select objects within a linked file, if you hover of the linked file, using TAB will allow you to select the elements to view the properties of the element and even let you copy it into your project.
• You can also use TAB for multiple selections, you need to TAB and select the first chain, TAB over the second chain but hit the control key while you select the next chain with the left mouse pick. This takes a little getting used to.
• If you hold control down while you TAB, Revit will cycle between any open view windows.
If you can’t grab it - TAB it!
Thank you for reading. For more information on Revit and other Autodesk products, and information on training and consulting for the various products Ideate services, visit our website at www.ideateinc.com.
AEC Application Specialist
Emily Clark holds a Bachelor of Architecture degree from Kansas State University, and has over 19 years of experience in the Architecture industry. Her experience includes working for a number of Architecture and Design/ Build firms in the Western United States. She has been a Project Designer, Intern Architect, BIM Manager and Design Technology Manager. She has contributed to the completion of projects ranging from high–end custom residential to Education and Healthcare design. She has worked with multiple platforms and her passion for BIM has enabled her to help transition firms and advance with technology. At Ideate, Emily provides training and support for Revit Architecture.